
- sale
-
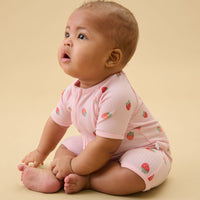
baby & kids
-
new collections
-
bundles & offers
-
nursery & bath
-
bathtime
- trusted brands
- KIDLY by MORI
-
contact
- Log in

 United Kingdom
 United States
 Rest of World
-
baby & kids
- sleep
- sleepsuits
- pyjamas
- kids pajamas (up to 8Y)
- sleeping bags
- bodysuits
- muslins & swaddles
- blankets & throws
 baby & kids
Treat your little one to something special with our super soft collections.
-
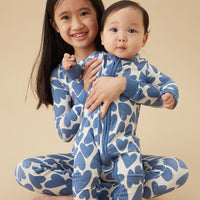
new
 Explore our latest arrivals in brand-new prints
each piece is crafted to introduce a world of softness to your little one’s wardrobe.
-
nursery & bath
 trusted brands
say hello to our trusted partner brands, find out more.
-
family & mama
 shop for the whole family
Our family collections are made for every moment.
-
bestsellers
 bestsellers
Discover all the pieces families love in our collection of bestsellers.
-
gifts
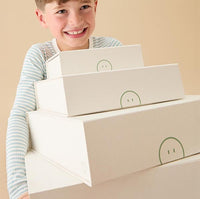 gifts
gifts
Treat your little one to something special with our collection of gifts.
-
characters
 shop characters
Your little ones can experience the softness of MORI with their favourite story characters.


[{"currency_code": "€-EUR", "country": "none", "continent": "EU"},{"currency_code": "$-USD", "country": "US", "continent": "none"},{"currency_code": "$-CAD", "country": "CA", "continent": "none"},{"currency_code": "$-AUD", "country": "AU", "continent": "none"},{"currency_code": "¥-JPY", "country": "JP", "continent": "none"},{"currency_code": "CHF", "country": "CH", "continent": "none"}]
Switch to
USD
?